Creating paper snowflakes is a fun and simple craft activity perfect for the Christmas season. These delicate decorations can add a festive touch to your home, whether hung in windows, strung as garlands, or used as table decor.
This guide provides easy-to-follow instructions for making beautiful snowflakes from paper, allowing you to customize them with various designs and sizes.
Creating a Winter Wonderland with Paper Snowflakes
Transform your space into a winter wonderland by crafting beautiful paper snowflakes. This delightful activity is perfect for the holiday season, allowing you to bring a touch of festive cheer into your home.
The delicate designs of paper snowflakes can evoke the magic of winter, making them ideal for decorating windows, ceilings, or tables. With just a few materials and some creativity, you can create an enchanting atmosphere that captures the essence of the season.
Materials Needed for Your Snowflake Creations
Gathering the right materials is the first step in your snowflake crafting journey. You will need square sheets of paper, which can be origami, printer, or even cardstock. The choice of paper can influence the final look of your snowflakes.
In addition to paper, have scissors on hand for cutting out your designs. A pencil can be useful if you want to sketch out patterns before cutting. For displaying your creations, consider string or ribbon, and glue or tape can help with assembly if needed.
Step-by-Step Instructions for Crafting Snowflakes
Start by preparing your paper. If you have rectangular sheets, cut them into squares to ensure uniformity in your snowflakes. Once you have your square, fold it diagonally to form a triangle, and then fold it again to create a smaller triangle.
Now comes the fun part—creating your unique designs! While the paper is still folded, use scissors to cut shapes along the edges. Feel free to experiment with different patterns, but be careful not to cut all the way through the center.
Unveiling Your Unique Snowflake Designs
After cutting, gently unfold the paper to reveal your stunning snowflake. Each one will be unique, showcasing the creativity you put into the design. This moment of unveiling is always exciting, as you see the intricate patterns come to life.
If you want to add a personal touch, consider decorating your snowflakes with glitter, paint, or markers. This extra flair can enhance their beauty and make them stand out even more.
Displaying Your Snowflakes for Maximum Impact
Once your snowflakes are ready, it’s time to display them. Use string or ribbon to hang them in windows or from the ceiling, creating a floating effect that mimics falling snow. Alternatively, place them on tables as festive centerpieces that will surely impress your guests.
Mix and match different sizes and designs to create a stunning visual display that captures the spirit of the season. Your home will be transformed into a cozy, festive space, perfect for holiday gatherings.
Enjoying the Crafting Experience
Crafting paper snowflakes is not just about the end product; it’s also about the joy of creating. This activity can be enjoyed alone or with family and friends, making it a wonderful bonding experience during the holiday season.
Set aside some time to relax and let your creativity flow. With each cut and fold, you’ll find yourself immersed in the festive spirit, making memories that will last long after the snowflakes have been taken down.
Simple Paper Snowflake Craft Instructions
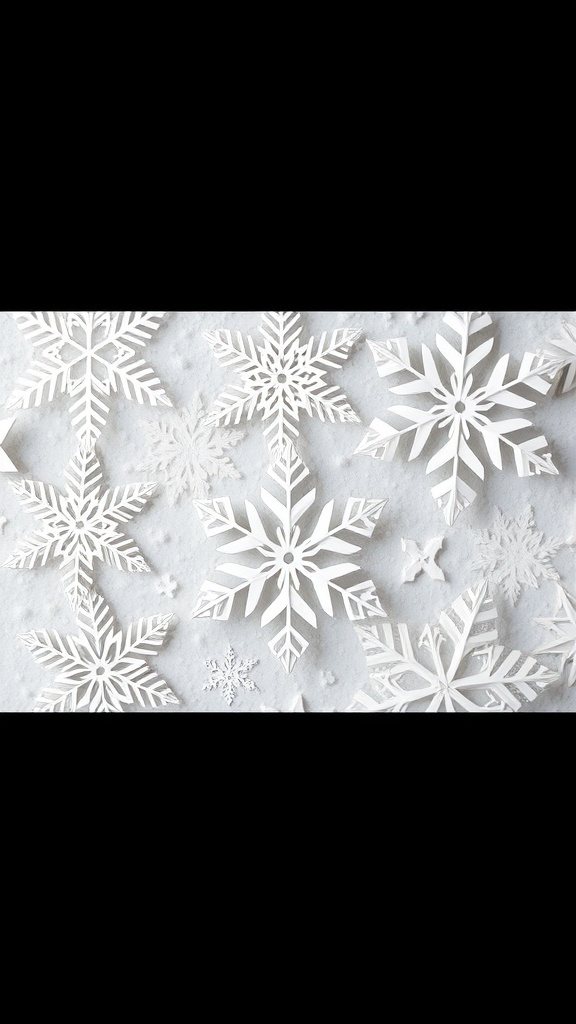
These DIY paper snowflakes are made by folding and cutting paper to create unique patterns. The process is quick and enjoyable, making it suitable for both kids and adults. You can use white paper, colored paper, or even patterned scrapbook paper for a creative twist.